
Your wedding day is one of the most important days of your life, and capturing every beautiful moment is a top priority. A well-structured wedding timeline ensures that your photographer has ample time to document the details, emotions, and magic of your special day without feeling rushed.
But how do you create a timeline that allows for stunning, stress-free photos while keeping your day flowing smoothly? In this guide, we’ll break down how to plan your wedding day timeline with photography in mind, ensuring you make the most of your special moments and get breathtaking images to cherish forever.
By the end of this blog, you’ll have a clear, easy-to-follow timeline template, expert tips for avoiding common pitfalls, and a deep understanding of how to maximize lighting and photography opportunities.
Understanding the Role of a Wedding Timeline in Photography
A well-planned wedding timeline isn’t just about keeping the day organized—it’s essential for achieving high-quality, beautifully lit photos. Here’s why:
A structured timeline keeps things moving smoothly, ensuring you’re never rushing through important moments. This reduces stress on both the photographer and the bride.
Your photographer will want to use natural light as much as possible, which makes timing key (especially for golden hour portraits).
Having enough time for each part of the day allows your photographer to capture creative and stunning images.
To make sure your wedding day timeline works seamlessly, consider working with your photographer early in the planning process. They can help you decide the best timing for different photo sessions based on your venue, season, and personal preferences.
Key Factors to Consider When Creating Your Timeline
When building your timeline, a few key elements will impact the flow of the day and the quality of your photos:
Season & Time of Day
- If you’re having an outdoor wedding, lighting conditions will change depending on the time of year.
- Summer weddings often have longer daylight hours, making golden hour portraits easier to schedule.
- Winter weddings require earlier ceremony times due to limited daylight.
Venue Logistics
- Consider travel time between locations, especially if getting ready, the ceremony, and the reception are in different places.
- Account for parking, potential traffic, and time for guests to transition.
Size of Wedding Party & Family
- The larger your bridal party and family, the more time you’ll need for portraits.
- A well-organized list of family photo combinations will help keep things efficient.
Special Wedding Traditions
- If your wedding includes cultural or religious traditions, ensure there’s enough time allocated for them.
- Discuss these elements with your photographer so they can plan accordingly.
Sample Wedding Day Timeline for
Stunning Photos
Here is a sample wedding timeline designed to maximize your photography experience. Adjust it based on your ceremony start time and whether or not you’re doing a first look.
- Hair & Makeup: Start early and allow extra time in case of delays. Brides should be done at least one hour before portraits begin.
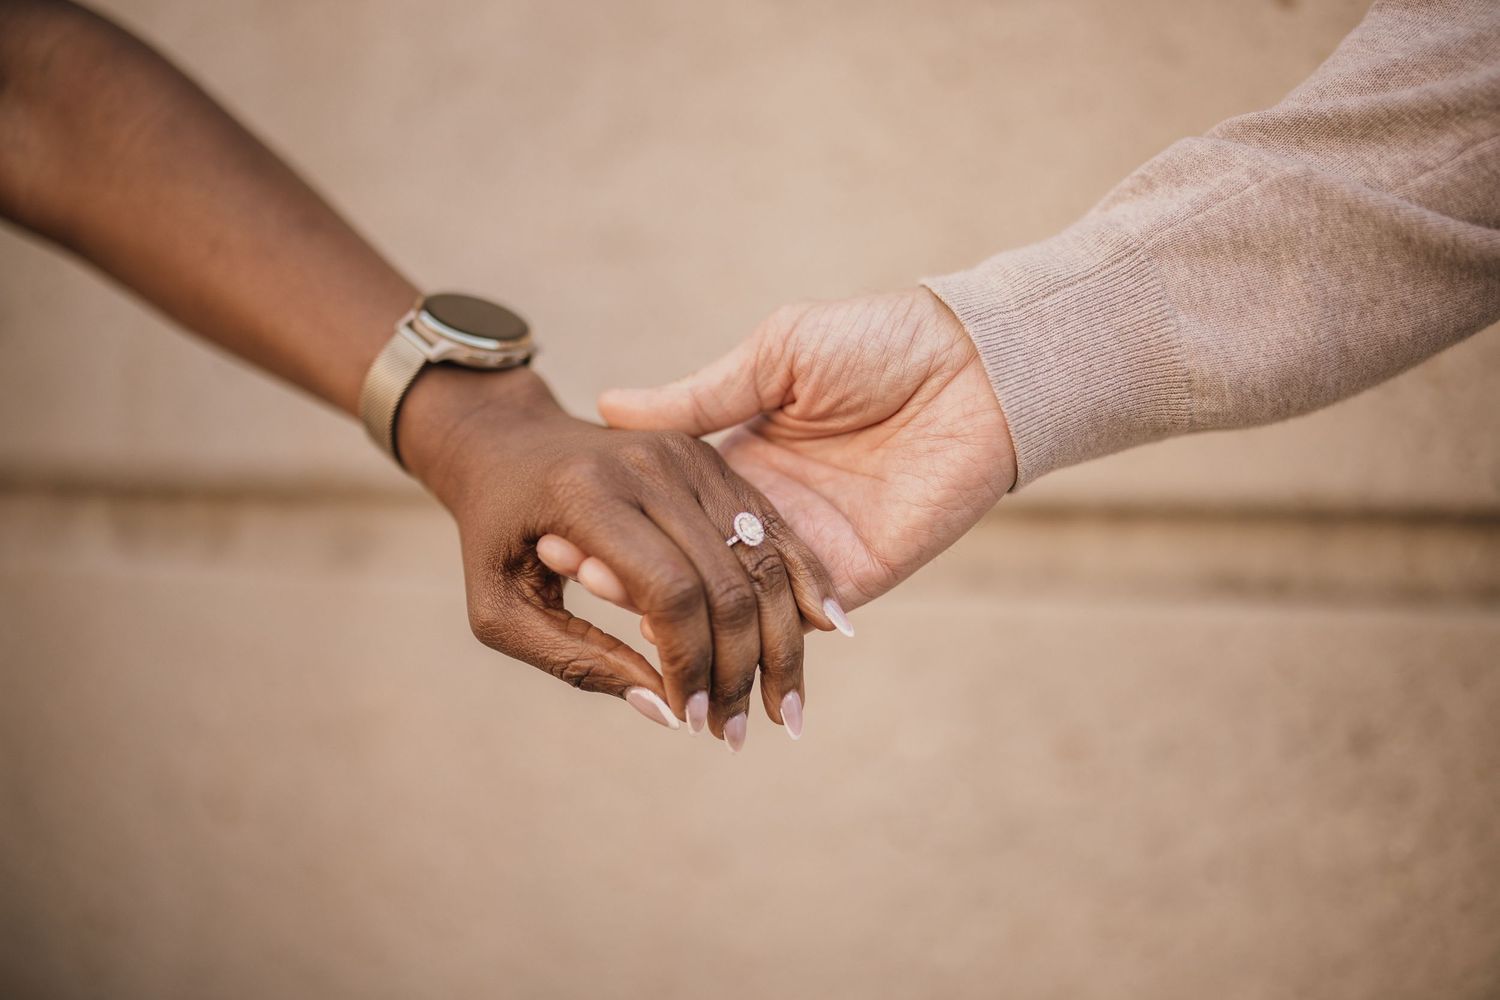
- Detail Shots: Your photographer will capture flat lays of your dress, shoes, invitations, rings, and accessories.
- Bride & Groom Prep: Candid moments of you and your wedding party getting ready, champagne toasts, and final touches.
- Groom’s Photos: The photographer captures the groom adjusting his tie, putting on his jacket, and hanging out with his groomsmen.
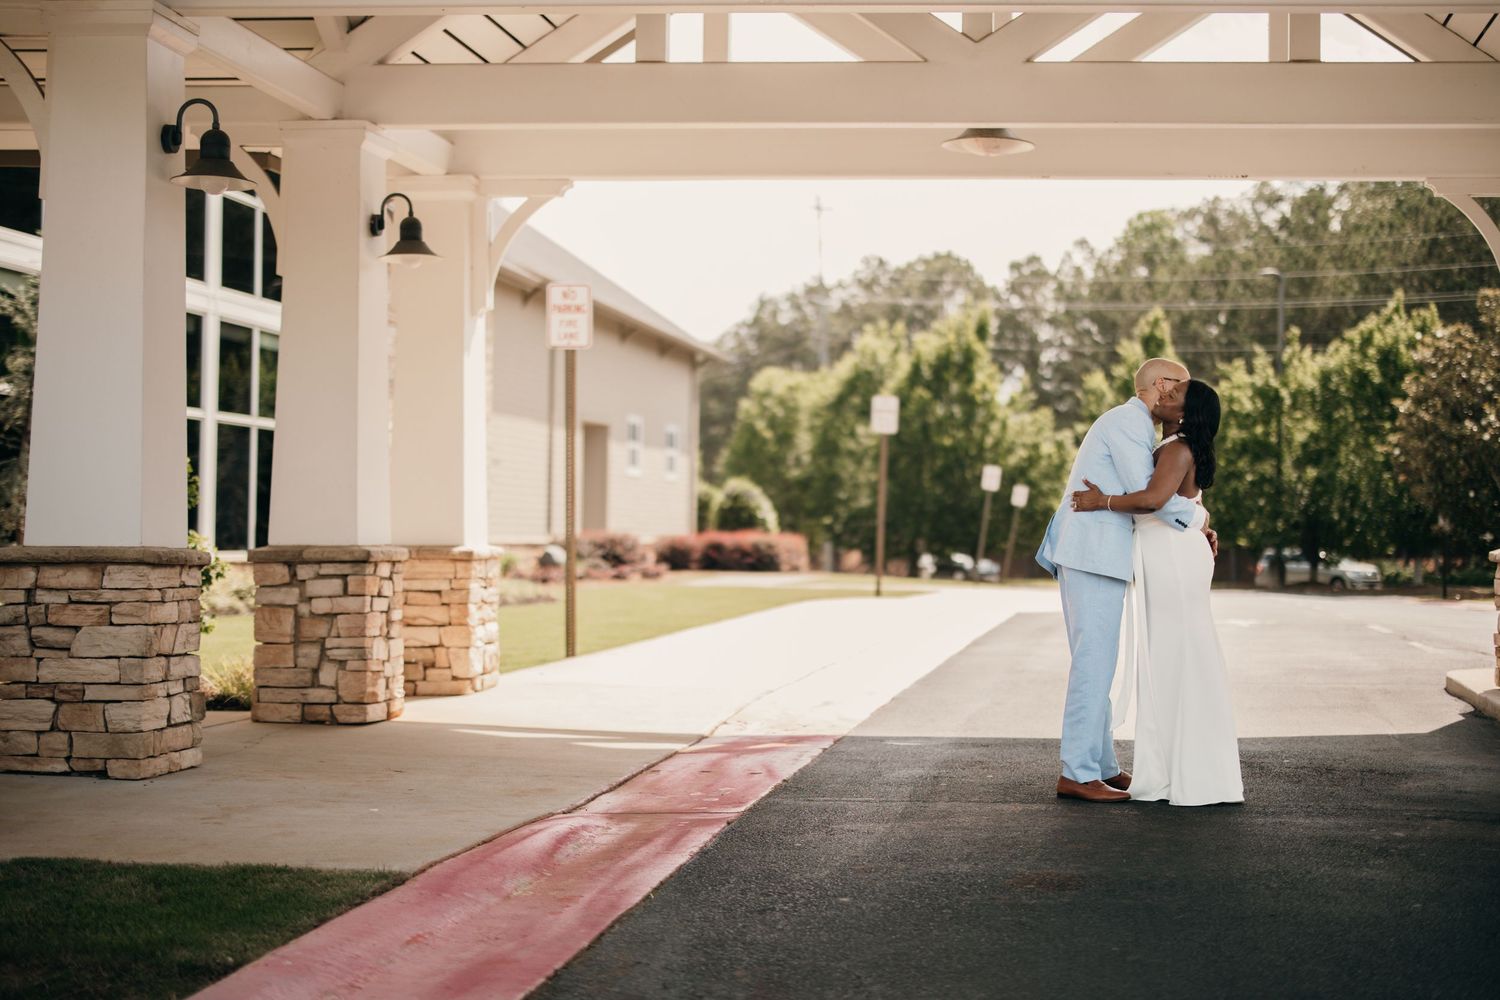
- If you choose to do a first look, schedule at least 30 minutes for this intimate moment.
- It allows for emotional, private reactions and relieves pressure on post-ceremony photos.
- Guests should arrive at least 30 minutes before the ceremony.
- Your photographer will capture guests mingling, the ceremony space, and pre-wedding emotions.
- Ceremony duration varies based on traditions and readings.
- Right after the ceremony is the best time for family portraits while everyone is still gathered.
- Create a list of must-have family photos to streamline the process.
- Wedding party photos can be done before or after the ceremony, depending on whether you did a first look.
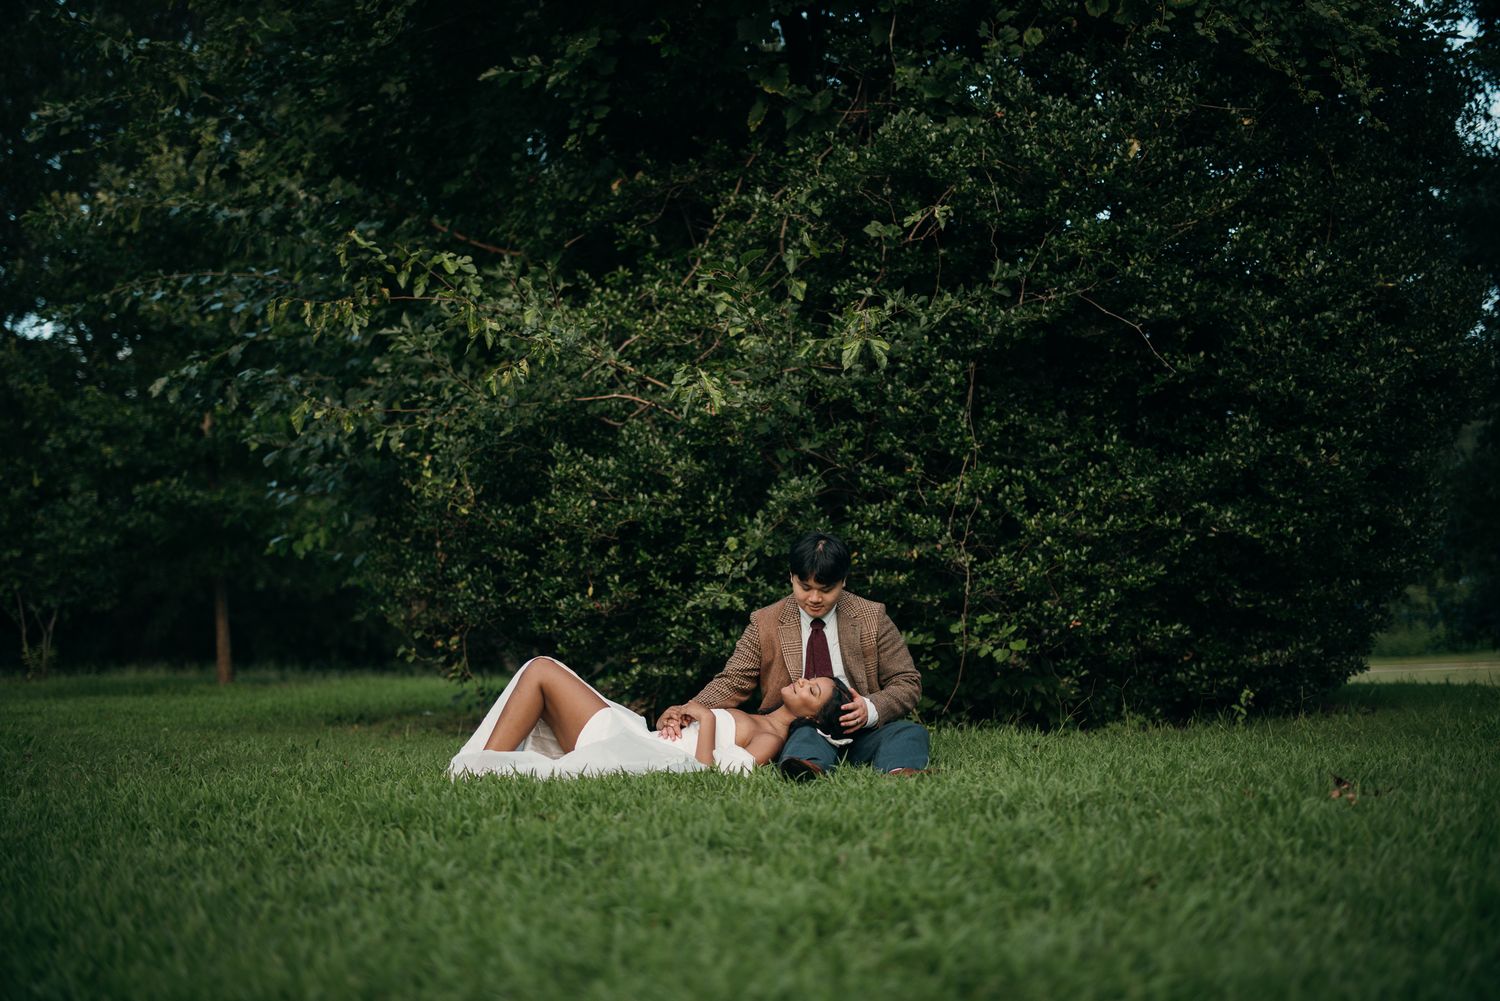
- The best light for portraits is during golden hour (1 hour before sunset).
- If golden hour is later in the evening, schedule a short portrait session after the ceremony and a second one during sunset.
- Your photographer will capture the energy of your entrance, décor, and first reactions.
- Plan a moment for a wide-angle shot of the reception space before guests enter.
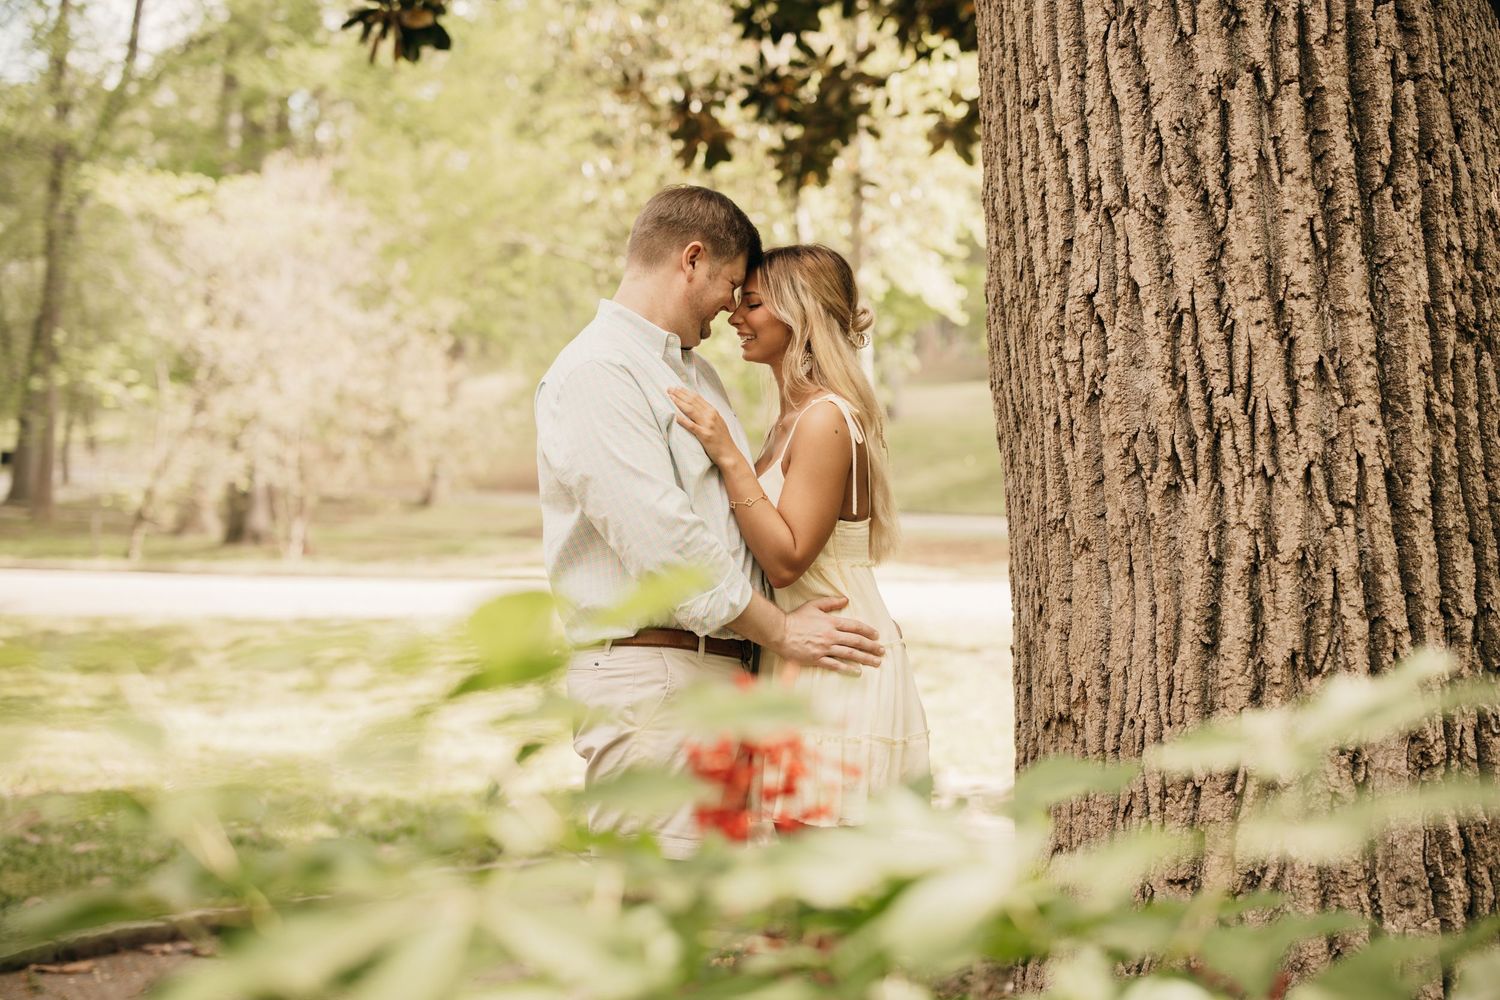
- Stepping away from the reception for golden hour portraits results in dreamy, cinematic images.
- Plan this during dinner or when there’s a natural break in the reception schedule.
- If planning a sparkler send-off or another fun exit, make sure your photographer is aware so they can set up lighting.
- Alternative options: confetti toss, glow sticks, or classic car exit.
Conclusion
A well-planned wedding day timeline is key to getting stunning, high-quality photos without feeling rushed. By factoring in lighting, travel time, and buffer moments, you can ensure a stress-free day while capturing every magical moment.
Final Tip: Trust your photographer’s expertise! They know how to optimize the timeline for the best shots, so be open to their suggestions.
If you found this guide helpful, share it with other engaged couples or save it for your own wedding planning!
Need a Wedding Photographer?
If you’re looking for a photographer to bring your wedding vision to life, let’s connect! Contact us here to chat about your wedding day photography needs.